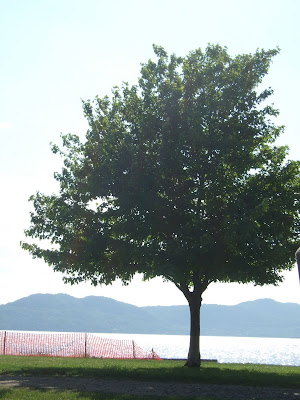
I got so excited when I read the assignment! The picture I am posting isn't impressive when you see it and don't know the story. So check it out:
Tuesday, April 28, 2009
Sunday, April 26, 2009
Week Thirteen - Vanity...?
My biggest problem with taking portraits this week would have to be finding a subject! It's not that I don't see people, it's that nobody has the time to set up a good, personal shot, let alone sit around while I take multiple pictures. I ended up being my own subject, which of course presented its own problems. I set my timer for two seconds and placed the camera on a speaker. I feel like the pose/connection gives of a little bit of a complex vibe. It shows that I am curious, to myself at times, unsure... What it doesn't portray is that I am all about having fun! But I think everybody has different sides to them, and this is just one of mine. The setting of the picture encompasses my lifestyle now. A bit messy, living in a tight space (I cropped it so I take up more of the frame)... it is black and white because I don't like living in this room very much, so I don't let it take over my life.

Also, I had red-eyes in this photo... voila! I think I did a pretty good job covering them up :)

Also, I had red-eyes in this photo... voila! I think I did a pretty good job covering them up :)
Saturday, April 4, 2009
Week Ten - read THIS
Week Ten - Hide my flaws
It was tough finding a picture to work with for this assignment. I have plenty of pictures with flaws, but most of them were either to big to fix or too small to notice. I settled on this one. There was a hand on the left most part of the railing that I removed. This assignment was the hardest for me, because PSP7 does not have a "patch tool", I researched a bit and it wasn't added until the most recent version. I used a combination of cloning and pushing to get this picture where it is.

Friday, March 27, 2009
Week Nine - Filter this.
Week Nine - To dodge or to burn?
Monday, March 23, 2009
Week Eight - Playing with colors
I'm having quite the time converting Photoshop tutorials to PSP7, but they are very similar for the most part! I find myself assuming that the options will have different name, or just not exist altogether, but that is actually rarely true. I don't quite understand what they all do, so I mainly just move sliders around and see how the colors change. That is how I decided to turn this photo from a mid-day picture to a sunset picture (or at least try to...):


To get it I mostly just played with color, adding a bit of red and a little green. I also darkened it a bit. Everything else I tried faded the picture or made it look too fake.
The next set I have is... "crop-inspired":


I wanted to crop the antenna out at first, then I just kept going. I also messed with the colors a little bit to make the scene more fantasy like. The road is darkened to make it stand out a little, and the saturation is a bit blotchy for that "drawn" effect ... does that make sense?


To get it I mostly just played with color, adding a bit of red and a little green. I also darkened it a bit. Everything else I tried faded the picture or made it look too fake.
The next set I have is... "crop-inspired":


I wanted to crop the antenna out at first, then I just kept going. I also messed with the colors a little bit to make the scene more fantasy like. The road is darkened to make it stand out a little, and the saturation is a bit blotchy for that "drawn" effect ... does that make sense?
Subscribe to:
Posts (Atom)


